Creating Virtual Machines 🖥️
Learn how to create and configure virtual machines in Karen Cloud Services. This guide will walk you through the process of setting up your virtual machine with the desired specifications.
Getting Started 🚀
Creating a virtual machine in Karen Cloud Services is straightforward. Follow these steps to get your VM up and running:
Access the Creation Interface
- Log in to Karen Console: Access your Karen account through the web console
- Navigate to Virtual Machines: Click on "Virtual Machines" in the main navigation
- Start Creation: Click the "Create Virtual Machine" button
Configure Basic Settings
When creating a virtual machine, you'll need to configure several key parameters:
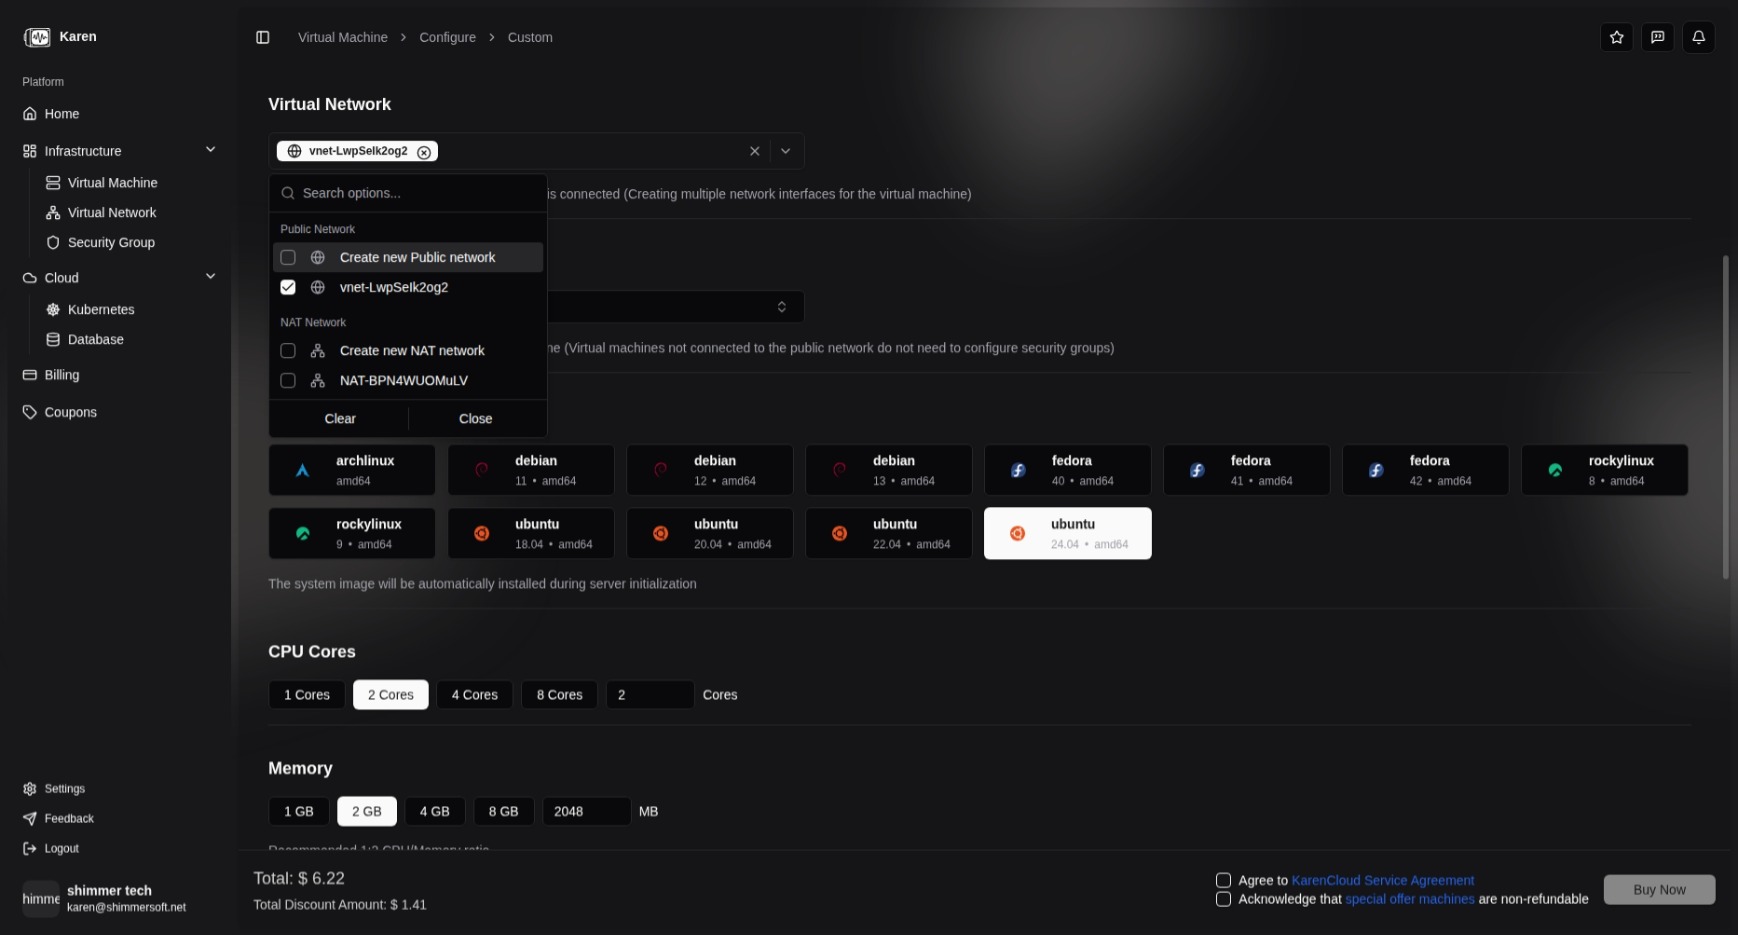
Operating System
- Select Distribution: Choose from our supported operating systems (Ubuntu, Debian, Fedora, etc.)
- Choose Version: Select the specific version that meets your requirements
Instance Specifications
- CPU Cores: Select the number of CPU cores (1-16 cores available)
- Memory: Choose RAM size (512MB - 64GB available)
- Storage: Set disk size (10GB - 2TB available)
- Bandwidth: Set network bandwidth limit for your VM
Network Configuration
- Virtual Networks: Select one or more virtual networks for your VM
- Security Groups: Choose security groups to control network access
Advanced Options ⚙️
SSH Key Configuration
- Add SSH Keys: Upload your public SSH key for secure access
- Key Management: Manage multiple SSH keys for different access scenarios
Payment Options 💳
Karen Cloud Services offers three flexible payment options to meet your different needs:
Monthly Subscription (月付)
- Fixed Monthly Fee: Pay a fixed amount each month for your virtual machine
- Predictable Costs: Ideal for long-term projects with stable resource requirements
- Automatic Renewal: Subscription renews automatically each month
- Best For: Production environments, long-running applications
Package Plans (套餐)
- Prepaid Packages: Purchase resource packages for specific periods (e.g., 3 months, 6 months, 1 year)
- Discounted Rates: Enjoy discounted pricing for longer commitment periods
- Upfront Payment: Pay in advance for the entire package period
- Best For: Medium to long-term projects with predictable usage
Pay-as-You-Go (按量付费)
- Hourly Billing: Pay only for the actual hours your VM is running
- Flexible Scaling: Start and stop instances as needed without long-term commitment
- Real-time Billing: Charges accrue based on actual usage
- Best For: Development/testing environments, variable workloads, short-term projects
Review and Launch
Before launching your virtual machine:
- Review Configuration: Double-check all settings
- Cost Estimation: View estimated monthly costs
- Launch VM: Click "Create" to provision your virtual machine
Post-Creation Setup 🔧
After your virtual machine is created:
Initial Access
- Connect via SSH: Use the provided IP address and SSH key
- Web Console: Access through the Karen console for direct interaction
Basic Configuration
- Update System: Run system updates
- Install Software: Set up your required applications
- Configure Services: Set up web servers, databases, or other services
Best Practices 📋
Resource Planning
- Right-size Resources: Start with appropriate CPU/memory for your workload
- Monitor Usage: Use the monitoring dashboard to track resource utilization
- Scale as Needed: Upgrade resources as your requirements grow
Security Considerations
- Regular Updates: Keep your operating system and applications updated
- Firewall Rules: Configure security groups appropriately
- Access Control: Use SSH keys instead of passwords
Backup Strategy
- Enable Backups: Set up automated backups for critical data
- Test Restores: Regularly test backup restoration procedures
- Data Organization: Plan your data storage and backup requirements
Troubleshooting 🛠️
Common Issues
- Connection Problems: Check security group rules and network configuration
- Performance Issues: Monitor resource usage and adjust specifications
- Boot Problems: Review system logs and configuration
Getting Help
- Documentation: Refer to our detailed guides and FAQs
- Support: Contact our support team for assistance
- Community: Join our community forums for peer support